Planograms
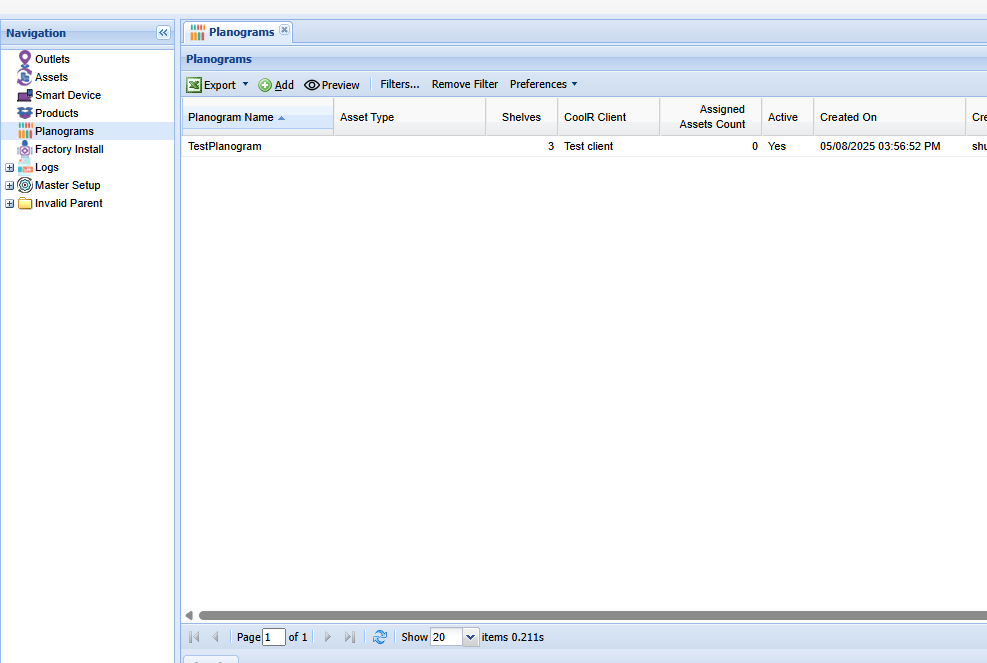
The Planograms screen is the section where you can execute all operations related to any Planogram. Information related to any Planogram can be added, edited or deleted from that screen.
Click on the Planograms menu from the left sidebar on CoolR Portal. You will see the Planograms screen on the right.
Add New Planogram
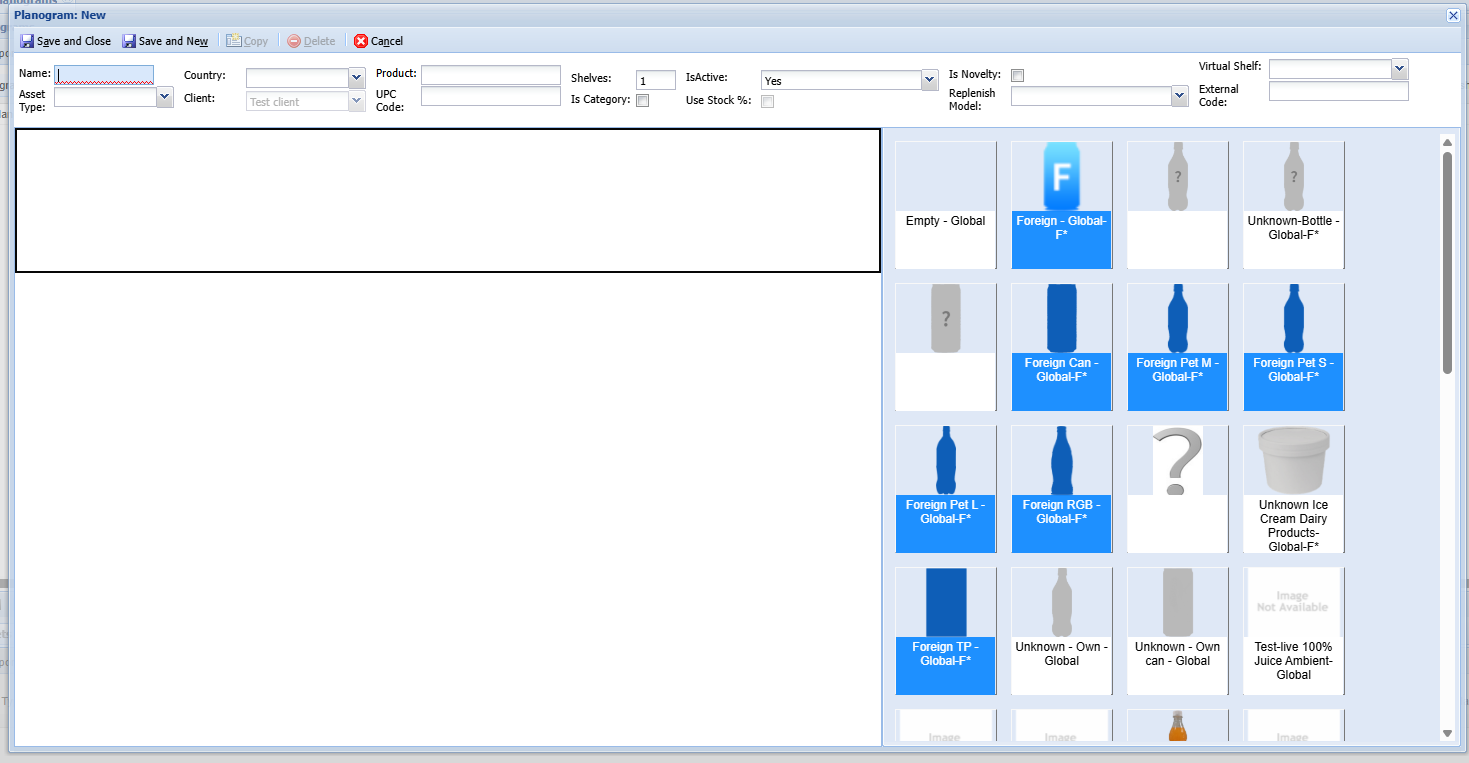
Click to the Add button on the Actions ribbon. You will see the Planogram Details Form. Fields marked with Red are mandatory.
- Select the country to filter product properly.
- You will see the right side of the form with filtered products
- Add shelf count. You will see the left size of the form with inputted Shelf count.
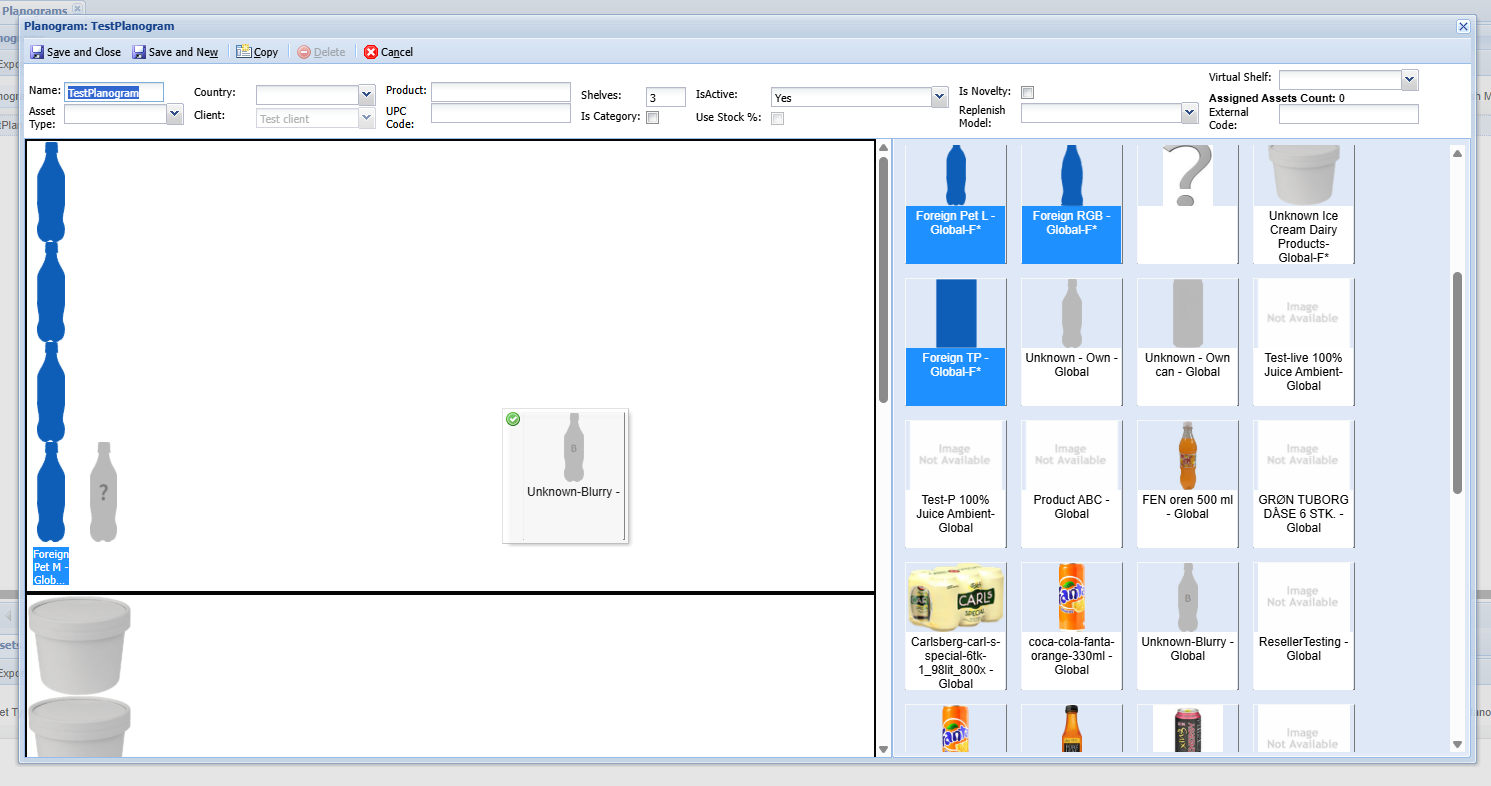
- Planogram form works with Drag and Drop.
- Drag the product from right to left (relevant shelf and order).
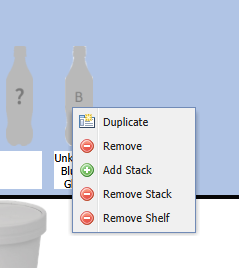
You can right click on any product image on the left to duplicate, remove or add a stack.
After filling out all the information click to the Save and Close button to save the Outlet. You will see the new Planogram in the Planograms screen.
Edit Planogram
Doubleclick to the Planogram row which you want to edit. Planogram form will appear.
- Edit the information you want to update on the form.
- After filling out all the information click to the Save and Close button to save the Planogram.
- You will see the planogram with updated information in the Planograms screen.