Products
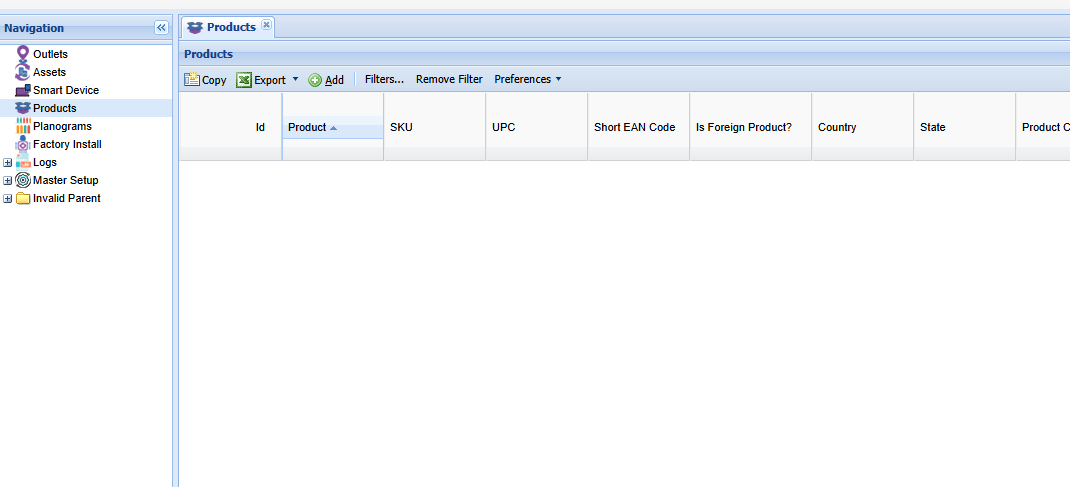
The Products screen is the section where you can execute all operations related to Products. Information related to any Product can be added, edited or deleted from that screen. Product Images can be added or modified from that screen.
Click on the Product menu from the left sidebar on CoolR Portal. You will see the Product screen on the right.
Add New Product
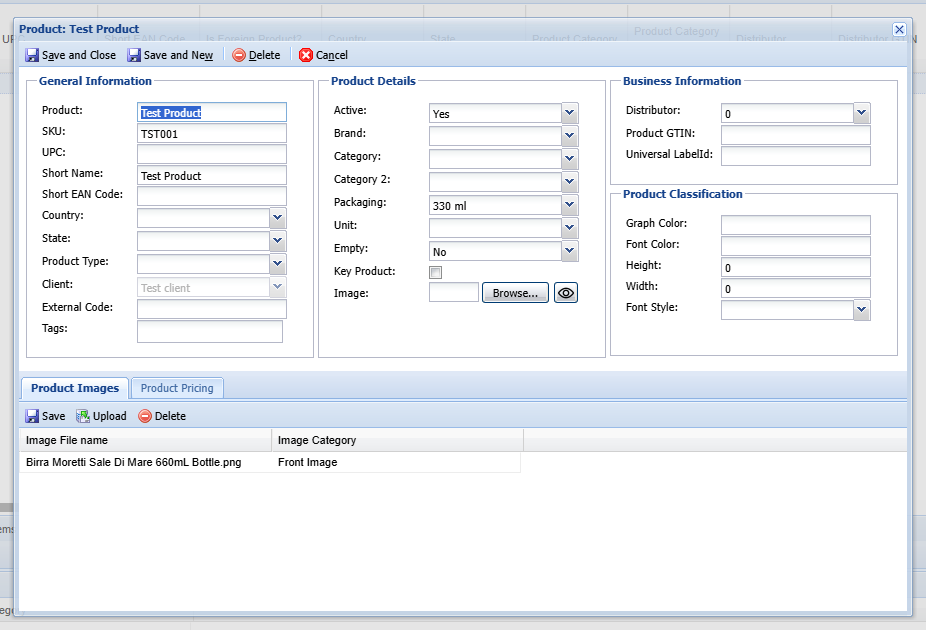
Click to the Add button on the Actions ribbon. You will see the Product Details Form. Fields marked with Red are mandatory.
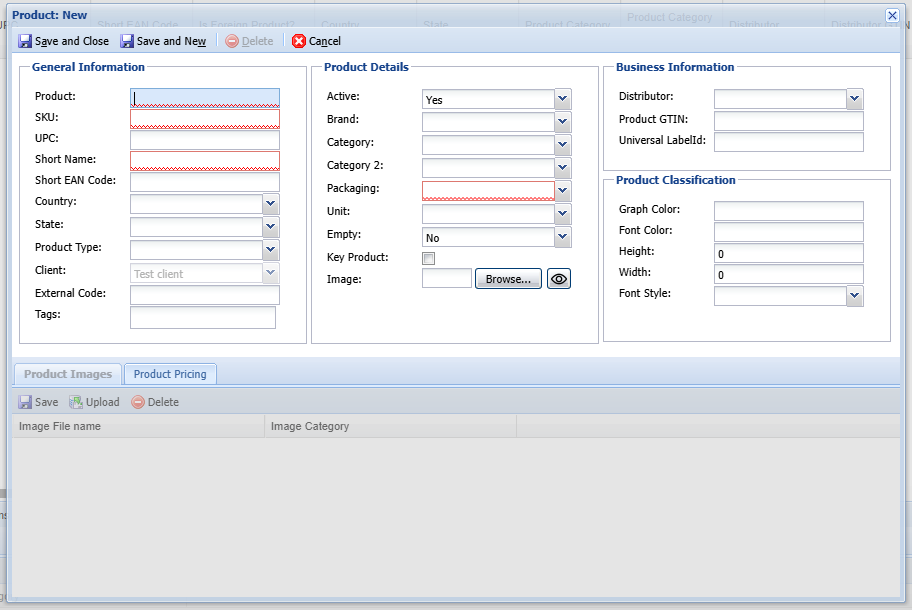
- Fill out the information accordingly.
- If you cannot find the information in any dropdown then you should add this in the Dropdown Menu under Master Setup.
- After filling out all the information click to the Save and Close button to save the Product. (product image will be added after saving)
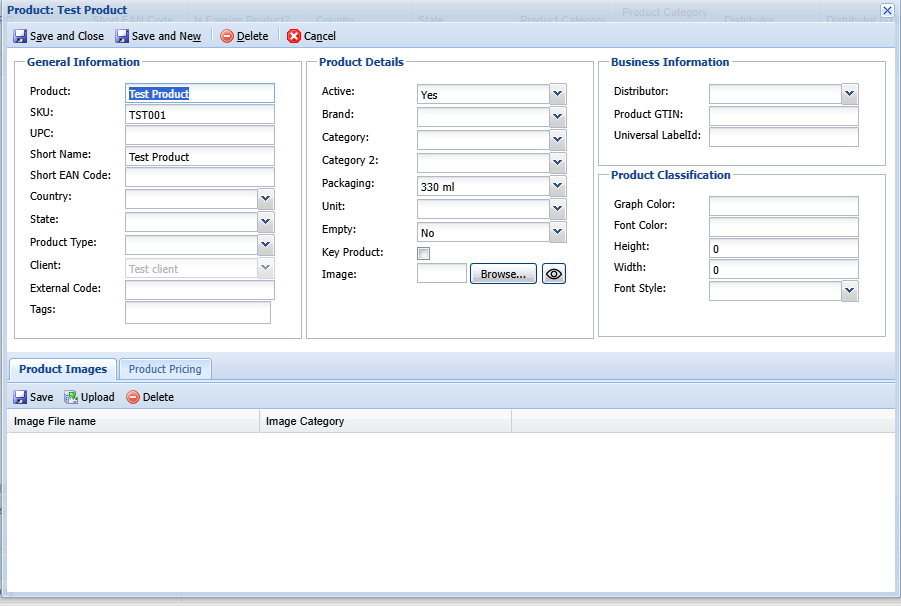
- You will see the new Product in the Product screen.
Add New Image
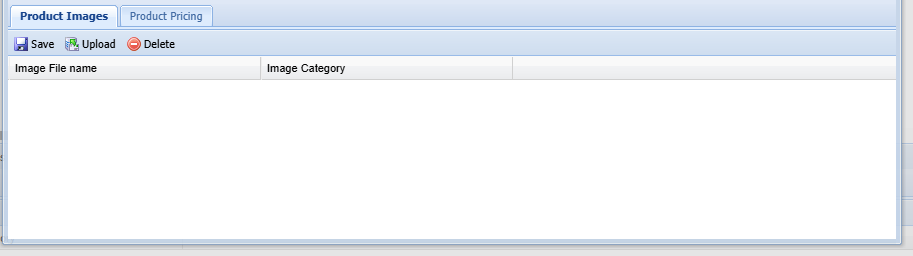
Doubleclick the product that you just created. You will see Product Images section in the bottom is activated.
- Click Upload button in the Product Image section.
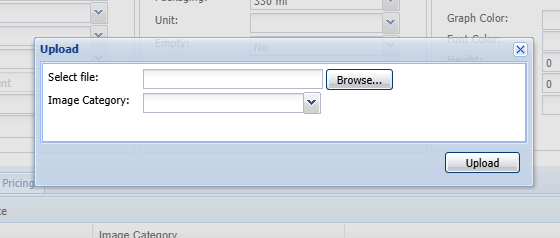
- The Upload Screen will Appear.
- Click browse and select your image file (only PNG files are accepted) from your computer.
- Select Image Category and click Upload button.
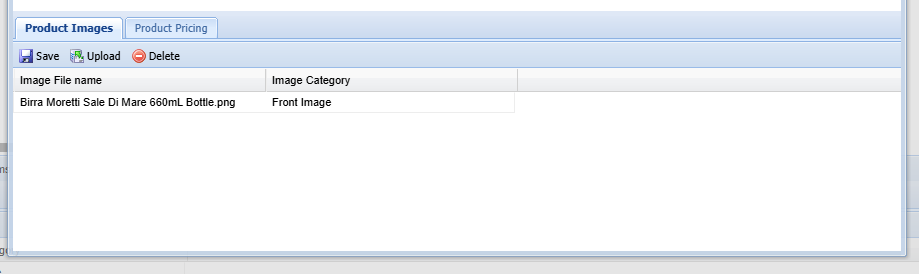
- You will see the product image listed on the section.
- Click Save and Close button from the form.
Edit a Product
Doubleclick to the Product row which you want to edit. Product form will appear.
- Edit the information you want to update on the form.
- After filling out all the information click to the Save and Close button to save the Products.
- You will see the Product with updated information in the Products screen.